Give clear directions
teaching practiceFor student year
Helps students to
- know what is expected
- perform tasks effectively
Helps teachers to
- use less verbal repetition
- promote independence
- facilitate performance
Summary
In busy classrooms, many students, including neurodivergent students, benefit from clear and explicit directions in order to respond readily and appropriately. Challenges with social communication, interaction, expressive and/or receptive language can impact students’ ability to focus on instructions and understand what is required of them. Some students need concrete language to understand exactly what the teacher wants them to do. Clear directions support students in feeling confident that they are doing the right thing.
How the practice works
Watch this video to learn more about giving clear instructions within the classroom.
Duration: 2:47
Australian Professional Standards for Teachers related to this practice
3.5 – Use effective classroom communication
4.2 – Manage classroom activities
For further information, see Australian Professional Standards for Teachers AITSL page
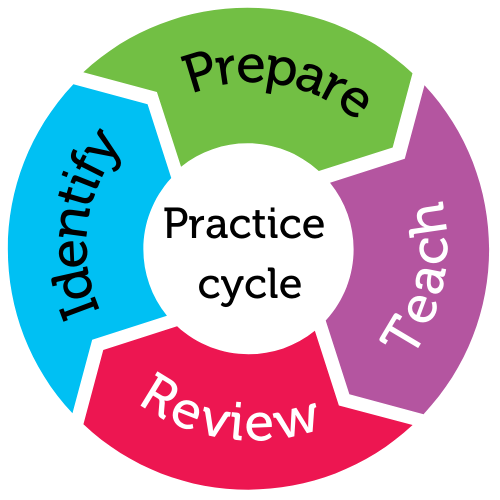
Preparing to teach
Directions are given all the time in teaching and often it seems like a stream of constant directions - for both the teacher and the student.
Good directions need to be clear and the students need thinking time which means we need to pause and wait. Phrasing directions as statements and not requests indicates your expectation that these directions will be followed. For example, you can request a student join in on a group assignment by stating, "Time to join your team for group work, Jane" rather than "Would you like to join your team for group work?"
Clear directions:
- are short, specific statements
- include a verb to indicate action
- tell students what they are expected to do
- tell students how they are expected to do it
- are followed by a 5-10 second pause by you, the teacher.
By pausing you provide:
- students with the time needed to process the direction
- yourself with an opportunity to check for attention and understanding.
To prepare appropriate adjustments to the directions you give, it is important that you understand the communication strengths and needs of your students. Particularly relevant is knowing which students are visual learners or have learning needs that include:
- auditory processing & planning
- organising
- task initiation.
When giving directions, you should refer to whole-class, or individualised visual supports. These will support students’ processing and task initiation.
Longer instructions
Choose a verbal and/or non-verbal cue to gain attention e.g., “1, 2, 3… listen to me” or . Choose one that matches your style – it can become one of your teaching ‘signatures’.
Directions provide students with the information needed to complete the required task: who? — what? — when? — where? — why? — how?
Consider if longer instructions should be displayed visually (such as written on a board or using pictures/images) - verbal instructions disappear as soon as they are given, and lengthy verbal instructions are often misheard or muddled. Visual instructions mean your students are more likely to follow them in order.
When giving instructions, do not give all of the information at once. Chunk your instructions into smaller segments that are:
- short
- specific
- include a verb.
Prepare the following supports ahead of lessons, and have them in place and within easy reach for reference:
- rules
- schedules
- routines
- written lesson plans
- task sequences
- organisational checklists.
Communication style
Be aware of your own communication style; directions should be short, specific, and start with a verb. You may need to write out and/or rehearse optimal ways to deliver clear short instructions. Reflect and monitor if these instructions are working.
When giving instructions, use non-verbal cues in a consistent way. Give directions:
- from the same place
- using the same focused facial expression.
It works better if:
- you refer to visual materials
- you always give directions from the same space within the classroom (non-verbal cue) or use the same verbal cue
- you separate instructions from curriculum/content talk.
It doesn’t work if:
- instructions are too long - chunk down for easier processing
- you give directions without first gaining student attention
- you continue talking while waiting and scanning for student attention
- you do not reference visual materials.
In the classroom
Step 1. Check
- Make sure other distractions are reduced wherever possible, e.g., auditory or visual distractions, such as video or music playing
- Minimise competing demands on students’ attention, e.g., if students are engaged in group work, approach the groups individually and ask them to stop what they are doing to await next instructions.
Step 2. Gain attention
- Use the attention-gaining strategy you have chosen e.g. "1, 2, 3… listen to me", or a nonverbal strategy (such as one hand in the air which indicates students should be quiet and put their hand in the air as well)
- Wait
- Scan for attention.
Step 3. Give direction
- Give the intended direction
- Use a firm, clear, and calm voice (not speaking too fast)
- Refer to whole-class and/or individualised visual materials, if relevant
- Wait
- Scan for understanding.
Step 4. Scaffold further
- Prompt student to begin following the direction
- If you can see a student is not following the directive, use short, concrete language to explain the next step
- Refer again to whole-class and/or individualised visual support.
Step 5. Acknowledge
- Provide feedback to students who followed, or tried hard to follow, the direction. This can be verbal ("Good job!") or nonverbal (thumbs up, smile, high-five).
Step 6. Review
- Review if the desired outcome to the instruction is achieved or if the directions given need altering
- Check if further supplementary visual supports (e.g., “first-then” cards or checklists) will support students to focus on and follow directions as independently as possible.
How will I know if it's working?
-
You spend less time on giving directions, and more time on curriculum/content talk
-
Students follow directions without prompting
-
Students independently follow directions.
Practice toolkit
Practice implementation planner template
We know it's not always easy to keep track of what's working and what isn't. So, we've created this template for you to record and reflect on what you're doing to create more inclusive classrooms. The implementation planner contains:
- guidance around goal setting
- a reflection section (what worked, didn’t work, what to change, and next steps)
- prompting questions.
Implementation planner with examples
Set your professional learning goal for:
Give clear directions
Benefits of goal setting
Setting, working towards, and reflecting on goals helps you grow professionally and improve your practice. You can access AITSL learning resources for teachers to learn more about:How to set goals
The Australian Institute for Teaching and School Leadership recommends using the SMART matrix to frame your goal setting.SMART goals refers to goals that are:
- Specific
- Measurable
- Achievable
- Relevant
- Time-phased
Resources
Give clear directions - Practice Brief
Related Practices

Consistently use routines and schedules
TEACHING PRACTICE
For student years
Helps students to
- feel less anxious
- transition smoothly
- know what is coming next

Learning Cycle